
Once “Seat reservation system for Event Espresso 4” is installed and license is activated on your website, you can follow theses steps:
Set up color system
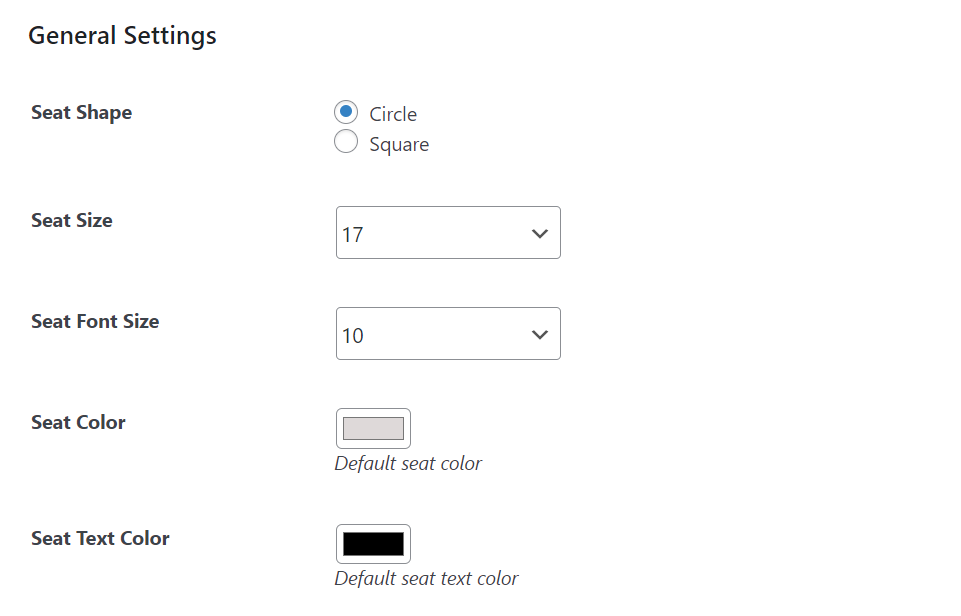
Go to the “General Settings” page (WordPress dashboard > Seating Chart > General Settings). Set background color and text color for already purchased seats, disabled seats etc. Here you will also get the option to select seat shape (round or square) and font size. You can set the time limit after which the unpaid seats will be released automatically.
Create seat categories
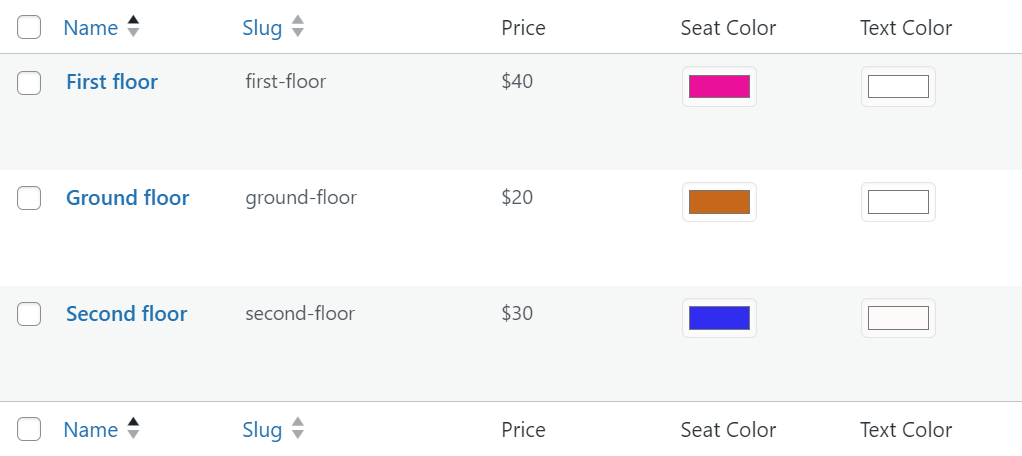
Go to the “Categories” page (WordPress dashboard > Seating Chart > Categories). You can add multiple seat categories. Here you can set the background color, text color and price for each category. When you assign these categories to seats, each seat will get properties and price of assigned category.
Design chart
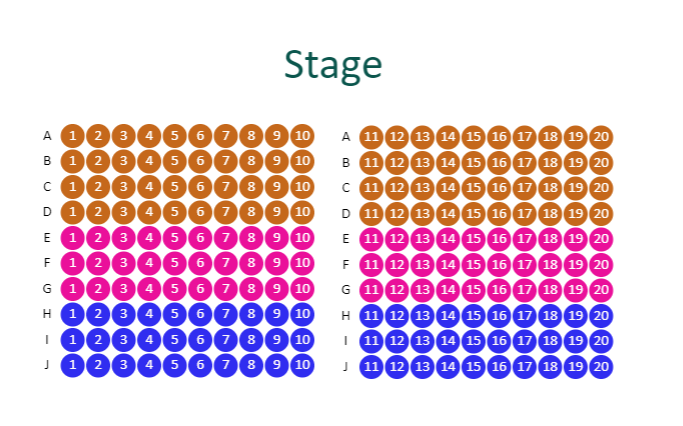
Go to the “Add Chart” page (WordPress dashboard > Seating Chart > Add Chart). This page will have title input box and default blank stage. Enter chart title in the input box. There are 3 buttons on top of the page – Section, Text and Save.
Section button – it will open a form on the right side of stage. It will ask for section details like number of rows, number of seats in each row, start row label etc. Enter appropriate details in the form and click on ‘Add’ button. It will add seats on the stage. You can add as many sections as you want.
You can select one or more seats and assign categories to seat or disable the selected seats. You can also change the seat label.
Notes for selecting seats:
- Select/deselect individual seat by clicking on the particular seat
- Double click on any seat to select entire row
- Ctrl+click on any seat to select entire section
Text button – It will add a sample text on stage. Click on the text to select it, it will open a form. You can rename the text, change font color and font size of the text using the form.
Save button – It saves the design chart.
Once chart is saved, it will be listed on “Seating chart” page. Now you are ready with the chart, now we have to assign it to event. On event edit page, you will find a metabox for chart setting. You can select a chart from dropdown and assign it to event. We are done with the backend configurations. You can view the current status of chart like sold seats, available seats. In case you want to reset the chart, you can do it using ‘Reset chart’ button.
Unpaid seats can be released manually or automatically after some time. “Booked seats” page lists all the purchased seats, you can release the seat manually from this page.